Navigating the digital tools necessary for seamless healthcare operations can be overwhelming, but we’re here to make it easier. Today, we’re diving into the Wellstar Smart Square login process—your gateway to efficient scheduling and resource management in the healthcare setting. Understanding how to use this system effectively can save you tons of time and help you focus more on patient care.
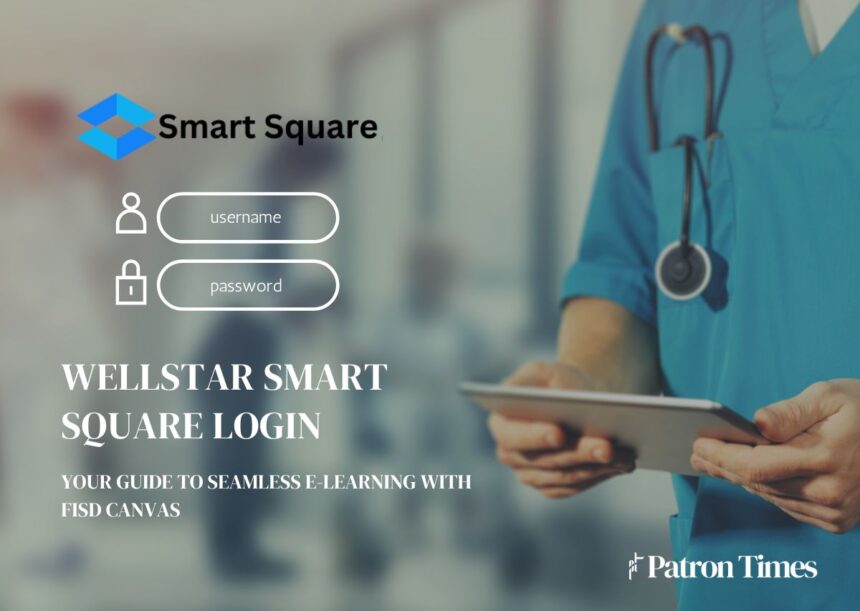
What is Wellstar Smart Square?
Wellstar Smart Square is a robust scheduling and workforce management tool designed explicitly for healthcare professionals. It simplifies the complexities of shift planning, ensuring that the right people are in the right place at the right time. Everyone benefits from a reliable platform like Wellstar Smart Square, from hospital administrators to nursing staff.
Key Features
- User-friendly Interface: Easy to navigate, even for those who aren’t tech-savvy.
- Real-time Updates: Keeps you informed about any schedule changes instantly.
- Comprehensive Dashboard: Offers a full view of staffing needs and availabilities.
- Mobile Accessibility: Manage your shifts on-the-go with mobile support.
Why Healthcare Professionals Love Wellstar Smart Square
The healthcare industry is fast-paced and demands the utmost efficiency. Here’s why Wellstar Smart Square stands out as a go-to solution for healthcare scheduling:
- Streamlined Scheduling: Say goodbye to manual scheduling conflicts.
- Enhanced Communication: Keeps everyone in the loop, reducing miscommunications.
- Improved Staff Utilization: Ensures no department is under or overstaffed.
- Time-saving: Automating routine tasks gives you more time to focus on patient care.
Step-by-Step Guide to Wellstar Smart Square Login
Step 1: Access the Login Page
First, navigate to the Wellstar Smart Square login page. You can usually find the link through your institution’s intranet or the Wellstar website.
Step 2: Enter Your Credentials
You will need your username and password. These are typically provided by your HR department or IT support team.
Step 3: Two-Factor Authentication (if applicable)
For added security, you may need to complete a two-factor authentication process. This could involve entering a code sent to your mobile device.
Step 4: Dashboard Navigation
Once logged in, you’ll be directed to your dashboard. Here’s an overview of what you might find:
- Shift Schedules: View your current and upcoming shifts.
- Requests: Submit leave or shift change requests.
- Notifications: Stay updated with any critical announcements or changes.
Troubleshooting Common Login Issues
Even the best systems can have hiccups. Here’s how to tackle common login problems:
Forgotten Password
If you forget your password, click the “Forgot Password” link on the login page. Follow the prompts to reset your password via your registered email.
Locked Account
Too many unsuccessful login attempts can result in a locked account. Contact your IT support team to get it unlocked.
Browser Compatibility
Ensure you’re using a compatible browser. Wellstar Smart Square works best on the latest Chrome, Firefox, and Edge versions.
Tips for Maximizing Your Wellstar Smart Square Experience
Regularly Update Your Availability
Keep your availability current to avoid scheduling conflicts and ensure optimal staffing levels.
Utilize Notifications
Enable notifications to stay informed about schedule changes, updates, and essential messages from administrators.
Mobile App Usage
Leverage the mobile app for on-the-go access to your schedules and notifications. It’s beneficial for last-minute changes or updates.
Conclusion
Mastering the Wellstar Smart Square login process and understanding its features can significantly enhance your workflow, making scheduling more efficient and less stressful. By following the steps and tips outlined in this guide, you’ll be well-equipped to navigate this essential tool confidently.
If you need further assistance or have detailed inquiries, don’t hesitate to contact your HR or IT support teams. Here’s to more streamlined, efficient, and hassle-free scheduling!